PROPER OIL FILTER INSTALLATION – CARTRIDGE ON
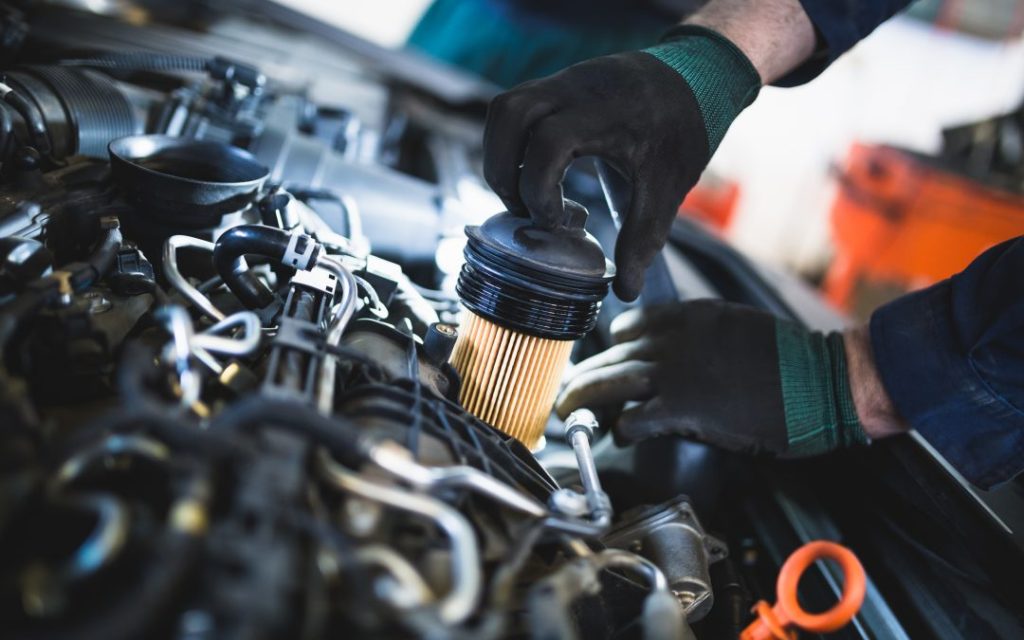

Before removing the old oil filter check for leaks or damages on or around the filter. Document any concerns or abnormalities for future reference.

Make sure the engine is not too hot.

Locate the drain plug to drain the old oil. In most cases the plug is at the bottom of the oil pan. Place container to catch the oil spillage under the drain plug before you release. Once the oil is completely drained, screw the drain-plug back in the pan. In some cases you may need to replace the plug and the washer, or just the washer.

Remove the filter housing-cap by turning it counterclockwise using the proper filter wrench. Once it is removed, check to make sure the seal is also off the housing (sometimes it gets stuck to the engine).

Wipe the area on the engine mounting surface and the treads on the cartridge housing from debris and dirt.

Unwrap the new filter cartridge, insert it in the filter housing and make sure all of the gaskets are installed properly on the cartridge and the housing. Apply a coat of new oil on the gasket surfaces; this will help the gaskets to seal.

Install the filter housing by screwing it on clockwise until it seats properly, look up the torque specification in the owner’s manual. Do not over tighten with the wrench.

Refill with new oil to the proper level using the engine oil dipstick and make sure the vehicle is level, check for leaks and re-tighten the filter if necessary.

Start the engine at idle for 10 seconds and rev it up to operating RPM (2500-3500) for 45 seconds, turn off and check for leaks. Recheck the oil level on the dipstick, add oil if necessary and wipe down any spillage.

Recycle the old filter.

